

One of the crucial things to get well-fitting dovetails is getting your cuts dead square, which is especially tricky on very thin stock. I've been making a bunch of small boxes out of 8mm thick pine, and 8mm doesn't give you much leeway to gauge your accuracy visually.
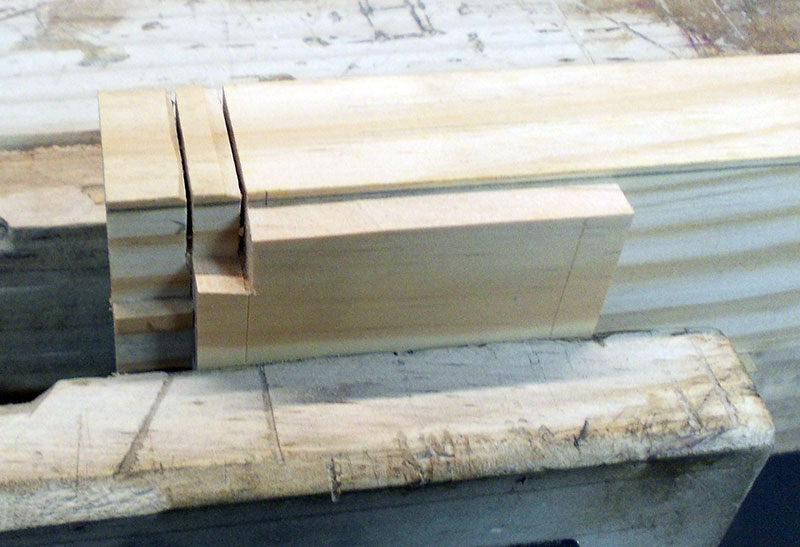
The thick base of this jig allows you to get your cuts square every time. Its been marked and cut with one raked cut for a side of the dovetail, and one horizontal cut, for a shoulder. In this instance I only need one tail, but it can be easily expanded for multiple tails.
NOTE: The observant will note that there are actually two shoulder cuts, but I realised that by putting a registration peg out in the middle of the tail I'd only need the one.

Then the saw is offered into the dovetail cut in the jig, and the first cut is made.
The piece is then flipped over, and the cut on the other side of the tail is made the same way.
Note: I'm not left-handed; this is a posed shot for the camera.
Again, the piece is flipped over and the opposite cut is made the same way.
Note: that left-hand cut is one I included before I realised that a registration peg in the middle of the tail would give more accurate symmetry than relying on allowing for the depth of the shoulder with the original corner peg.

There are a couple of changes I'd make for future versions.
- I'd make the jig back-plate a bit wider, say about 25mm wider than the work piece, so that the saw starts its shoulder cut more reliably square. On this one, there's only a couple of millimetres from the edge of the piece to the edge of the jig, and though it worked OK, more depth would be better.
- The top registration peg in the corner isn't really necessary. A single peg that sits in the middle of the piece's tail is adequate to ensure that everything is properly registered for cutting.
No comments:
Post a Comment